
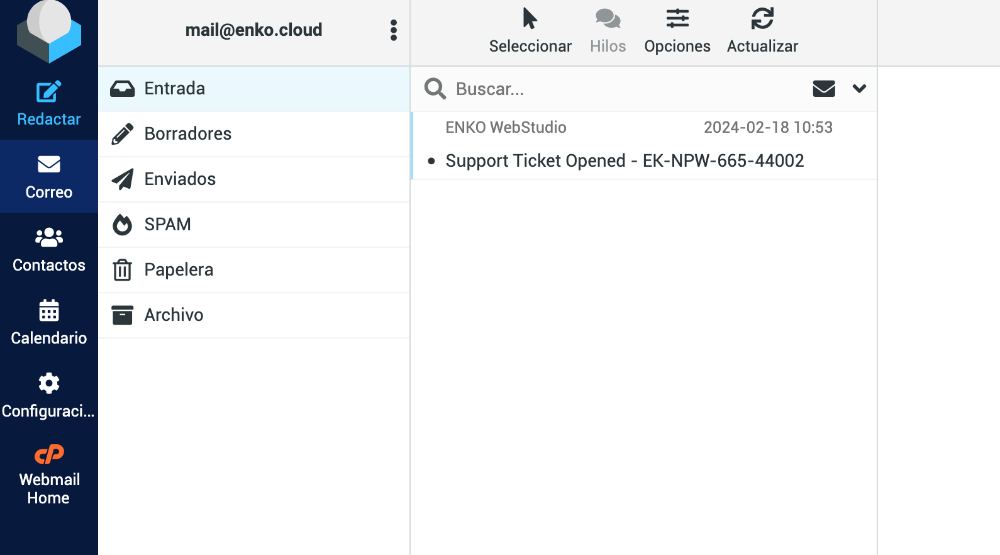
How to Add a Signature in Webmail (Roundcube)
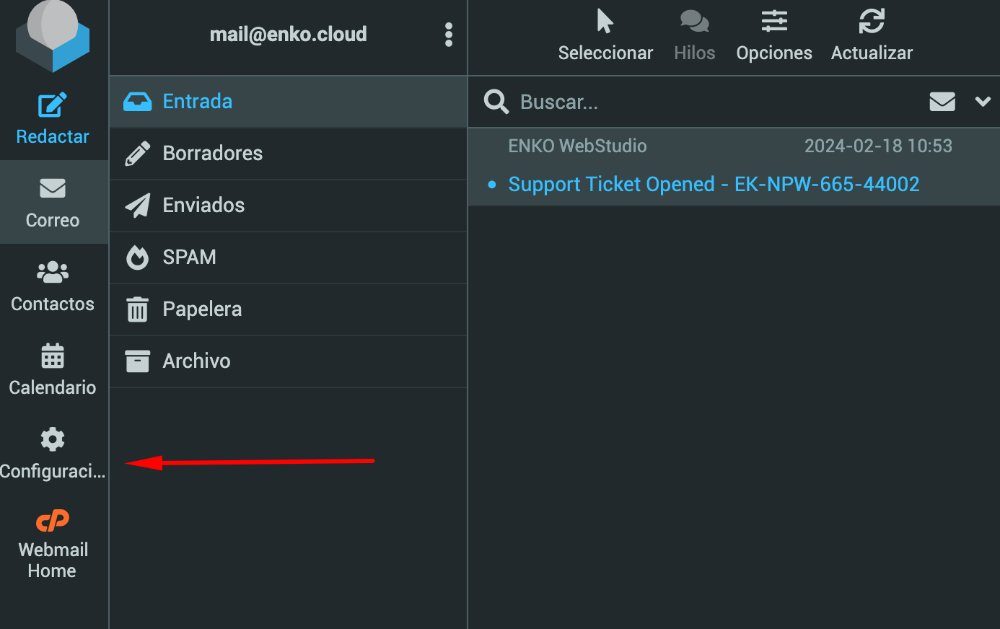
After logging in to your webmail with the corresponding username and password, go to the SETTINGS section in the left-hand menu.
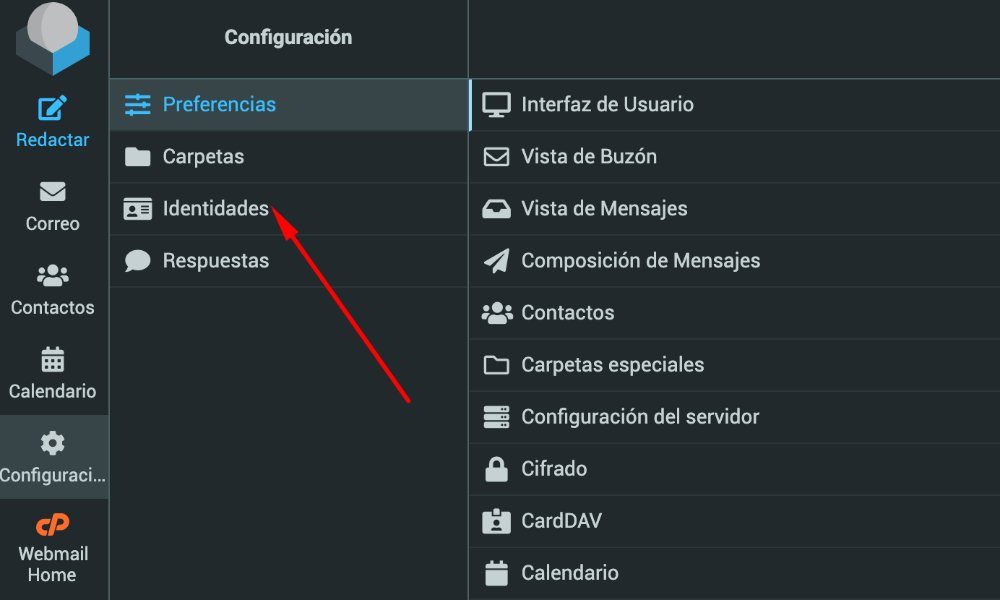
Then go to IDENTITIES in the second menu on the left.
The available IDENTITIES will open in the third column; usually, if it is the first time, only one appears. Click on it.
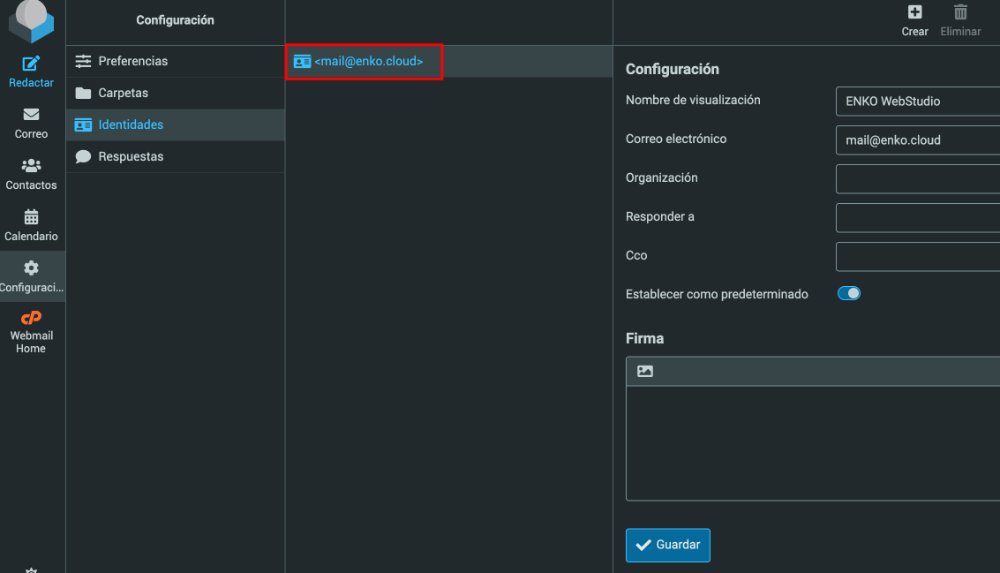
When you select your identity, the details you can customize, such as the sender name and/or company name, will be enabled on the right.
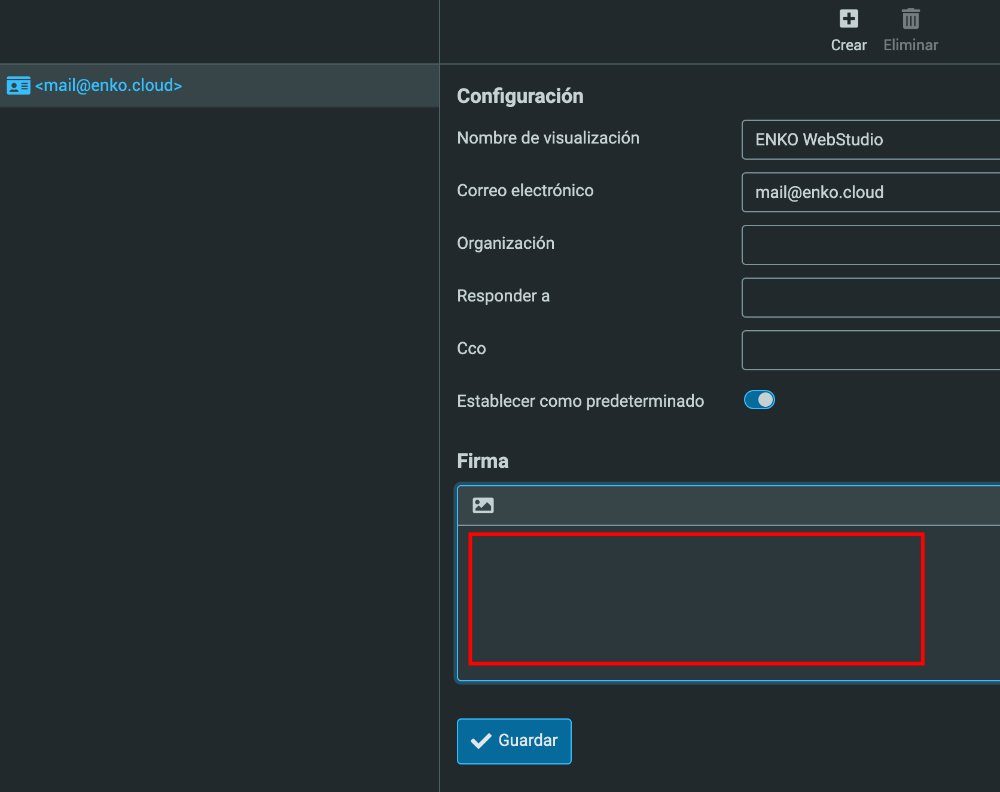
At the bottom you can add your signature as TEXT.
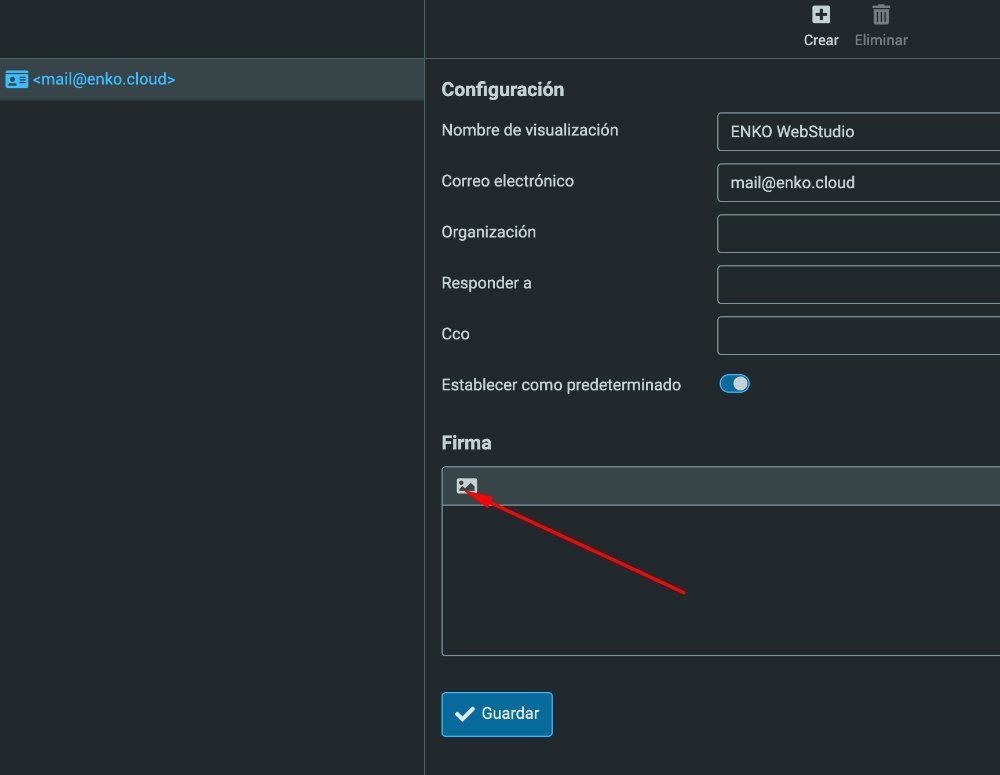
There is also the option to add your signature as an IMAGE by clicking the icon marked with the arrow; a dialog box will open asking for the file.
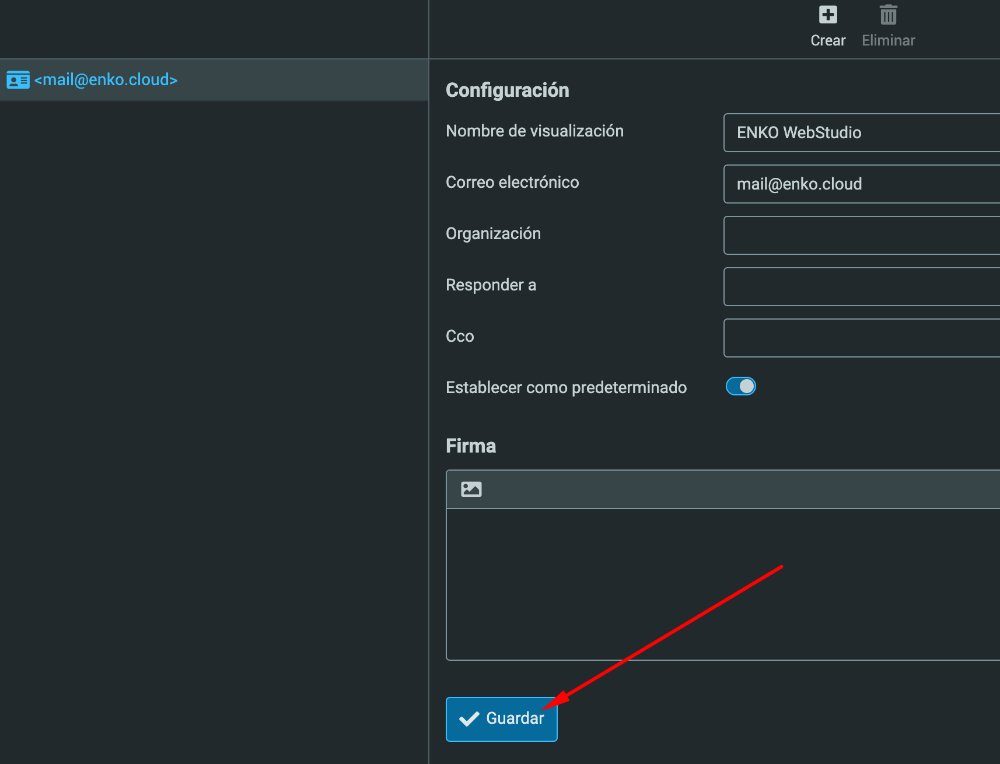
To finish, just click the blue SAVE button at the bottom. From then on, this image or text will always appear when you create a new email.
 Posted by ENKO WebStudio